windows下的php环境安装
Apache
直接在
官网下载
。解压之后有个readme_first.html就有使用说明。先更改ServerRoot为绝对路径(注意路径写正斜杠),就可以跑起来。
简单记几个命令:
可以在 windwos 服务中设为开机自启。
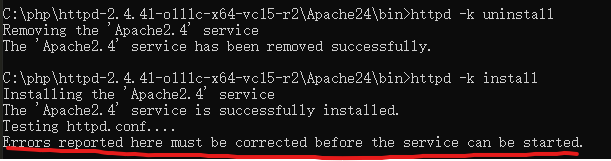
安装是时候似乎出现一个错误Errors reported here must be corrected before the service can be started.,这不是错误,而是提示,如果此处有错误必须先解决 😂
配置 Apache 支持 PHP
- 配置 php 模块
- 配置 web 根目录,可以重新设置一个 webRoot
Mysql
下载链接:https://cdn.mysql.com//Downloads/MySQL-8.0/mysql-8.0.18-winx64.zip
这个版本没有配置文件,需手动增加一个:my.ini,先上最简单的配置:
| |
初始化之后会给一个root用户和默认密码:mysqld --initialize --console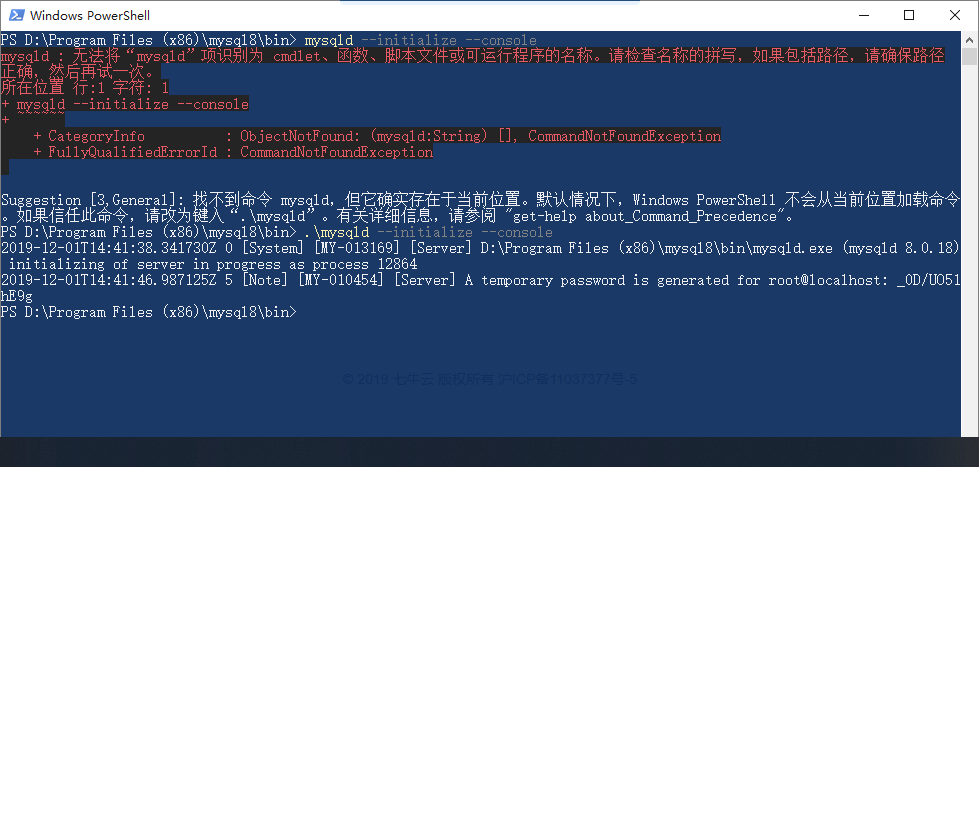
安装服务:.\bin\mysqld --install
启动服务:net start mysql
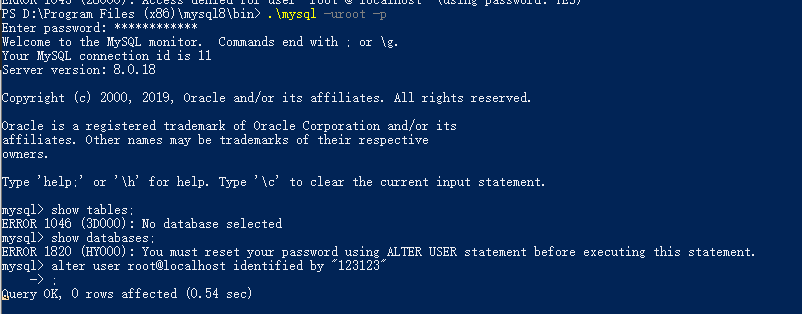
第一次进入之后会让更改密码:alter user root@localhost identified by "password"
PHP
下载地址:https://windows.php.net/downloads/releases/php-7.4.0-Win32-vc15-x64.zip ,php主要就是一堆的配置。
复制php.ini-development为php.ini,放几个常用配置:
phpmyadmin 安装
官网下载
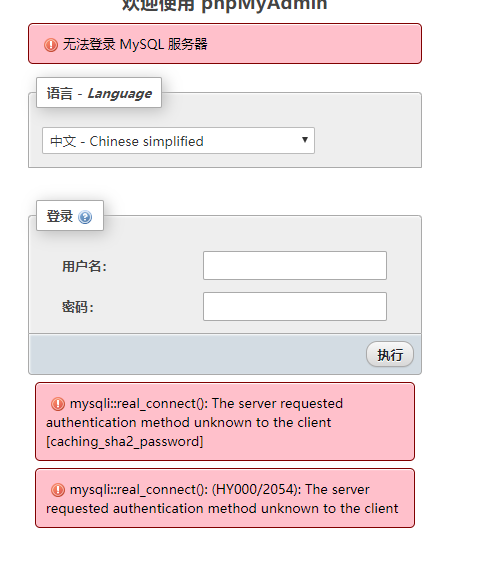
phpMyadmin,解压到上边配好的 webroot 目录下,打开,看到熟悉的页面。尝试登陆一下,发现报错mysqli::real_connect(): The server requested authentication method unknown to the client [caching_sha2_password]
去
mysql官网
看一下解释
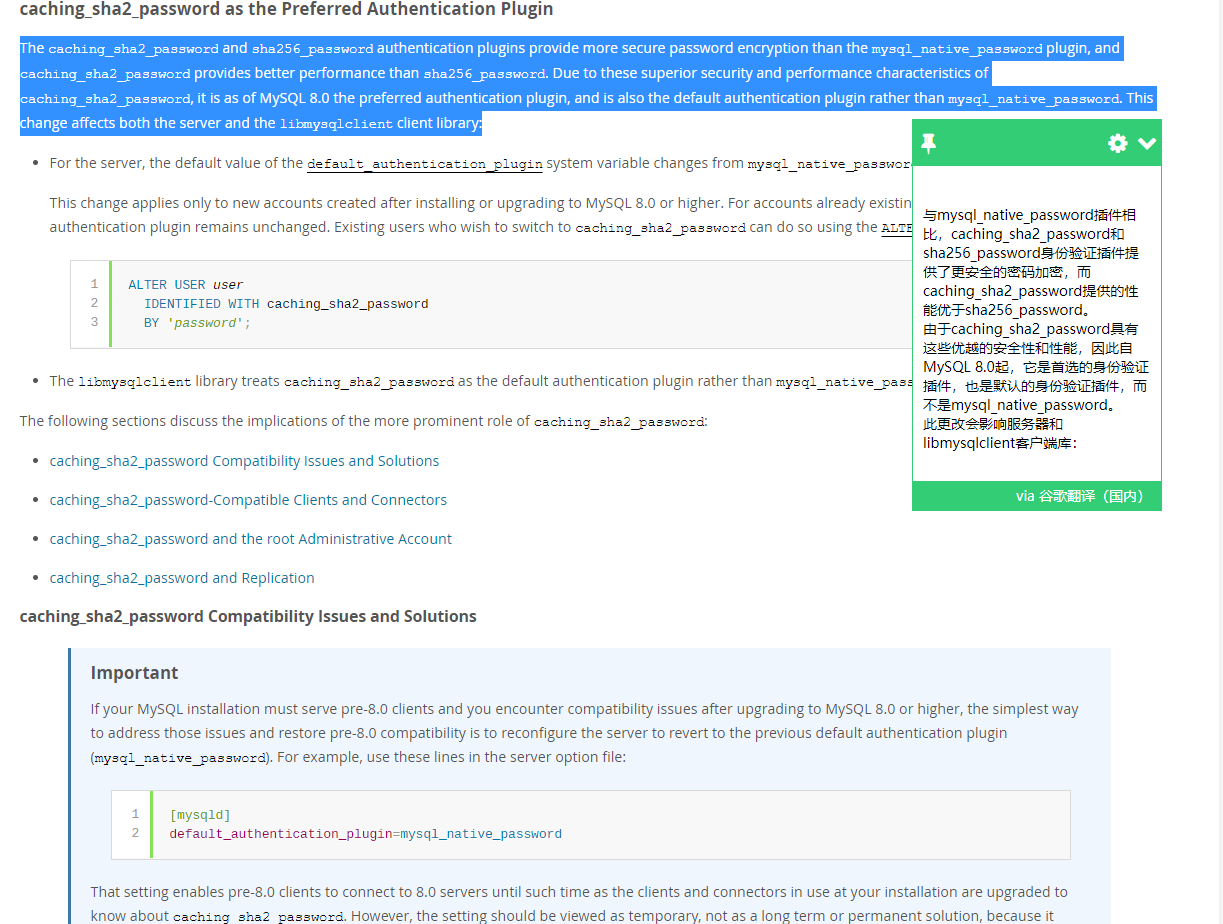
大致意思就是 mysql8.0 之后有了更安全的加密方式且被设置为默认的加密方式,而当前登录暂时不支持该方式,解决方法是设置加密方式为之前的default_authentication_plugin=mysql_native_password,然后命令行进入 mysql 设置 ALTER USER 'root'@'localhost' IDENTIFIED WITH mysql_native_password BY 'password';,再刷新一下 FLUSH PRIVILEGES;,除此之外似乎也没找到更好的解决方式,只能等待 phpmyadmin 支持新的加密方式了。
修改完成之后顺利进入 phpmyadmin,页面下边出现一个新的错误 配置文件现在需要一个短语密码。 解决方法:
1、在 phpMyAdmin/libraries/config.default.php 中把 $cfg['blowfish_secret']给一个值
2、在 phpMyAdmin/config.sample.inc.php 中的 $cfg['blowfish_secret'] 也给一个值
官方给的注释:
This is needed for cookie based authentication to encrypt password in cookie. Needs to be 32 chars long.$cfg['blowfish_secret'] = ''; /* YOU MUST FILL IN THIS FOR COOKIE AUTH! */
字面意思是用来 cookie 加密,防止混淆。